Are you looking to brighten up your space without breaking the bank? With a little bit of DIY spirit and the right tools, changing a light fixture can be a straightforward project that adds style to your home. In this guide, we’ll walk you through what you need to know to successfully tackle this rewarding home improvement task.
Preparation for Your DIY Project
Gathering the Right Tools and Supplies
Before diving into your light fixture replacement, ensure you have the essential tools at your disposal. A screwdriver or cordless drill, wire strippers, wire cutters, and needle-nose pliers are critical. Additionally, procure a new light fixture and wire connectors. With these items in hand, you’ll be set to make your lighting dreams a reality.
Safety First: Dealing With Electrical Components
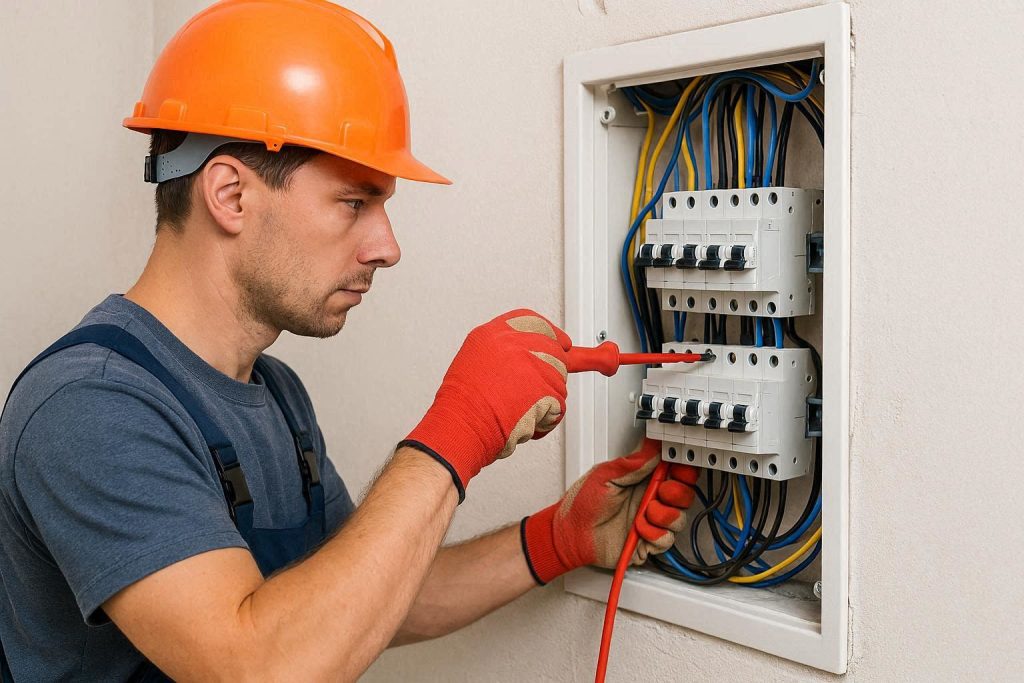
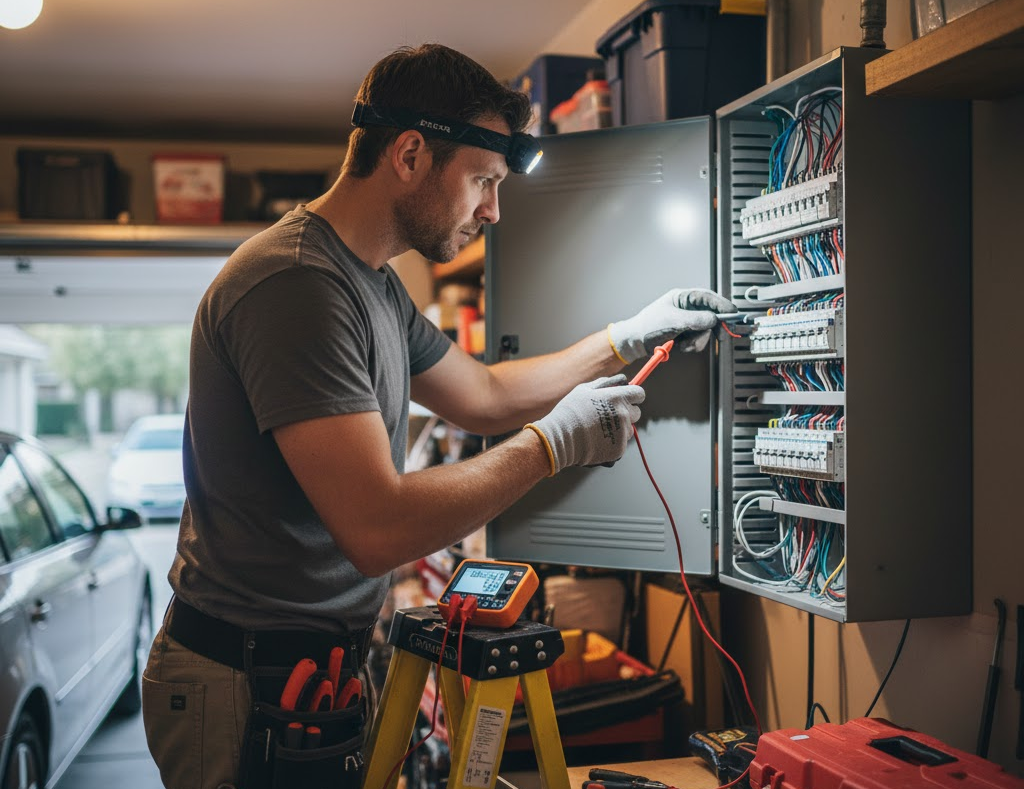
Working with electricity necessitates caution. Start by turning off the power at the circuit breaker and confirming this with a voltage detector. This step can save you from an unpleasant surprise. If you’re ever uncertain, it’s best to consult a licensed electrician for advice.
Steps to Replace Your Light Fixture
Removing the Old Fixture
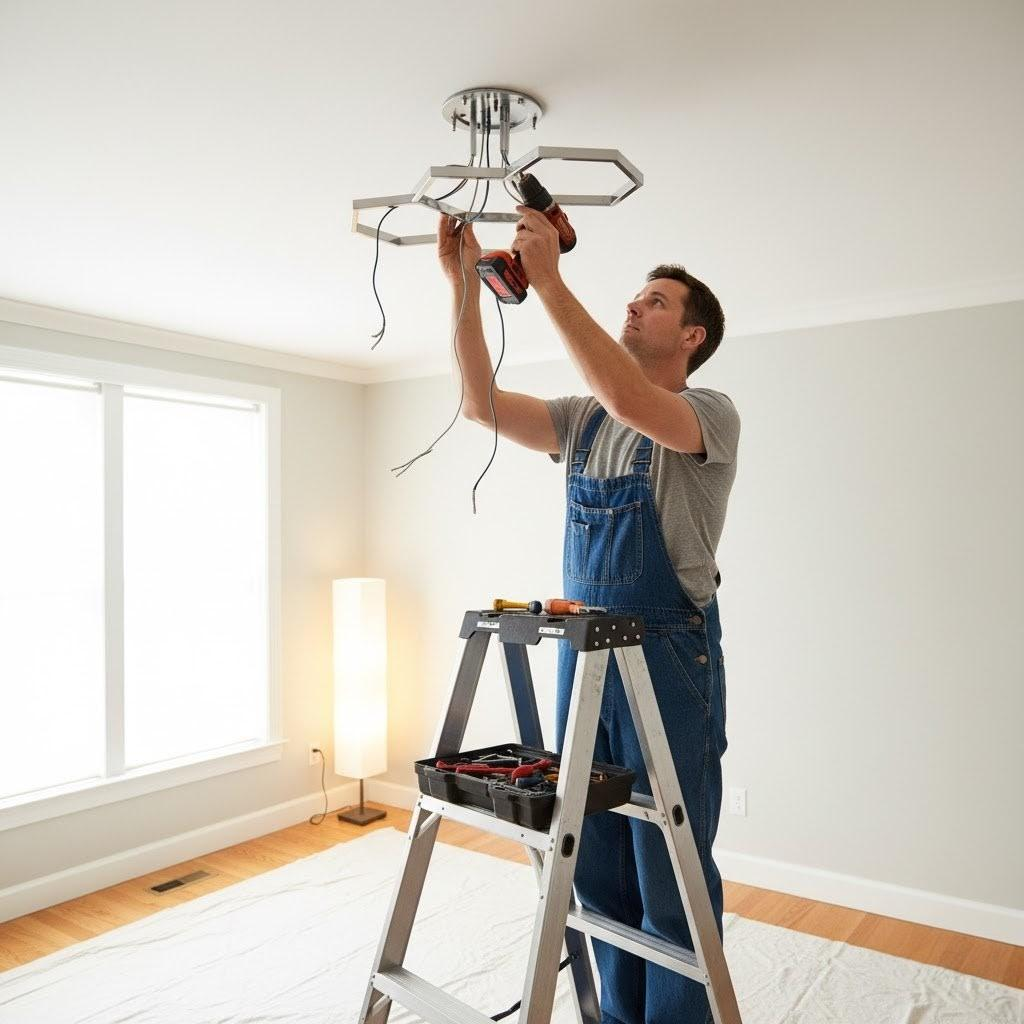
Once you’ve ensured that power is off, it’s time to remove the old fixture. Typically, you’ll encounter screws or bolts connecting the fixture to the electrical box in the ceiling. Carefully unscrew the existing fixture, and don’t forget to stash any hardware in a plastic bag for easy access later. If your fixture has been caulked, a flathead screwdriver can help pry it loose without damaging the ceiling.
Disconnecting Wires Safely
With the fixture detached, expose the wiring and take a moment to photograph the arrangement for reference. You will generally find three wires – black (hot), white (neutral), and green/copper (ground). Confirm the absence of electrical current again before disconnecting these wires. After detaching, your old fixture should come out easily.
Installing the New Light Fixture
Securing the New Bracket
Next, examine the integrity of the electrical box and confirm its compatibility with your new fixture. Secure the mounting bracket for the new light onto the same electrical box, ensuring the screws are tightened adequately.
Connecting Wires to the New Fixture
Now comes the moment of truth: connecting the wires. Start with the hot black and neutral white wires. Before you connect them, adjust the fixture’s wiring length if necessary. A common rule of thumb is to have the light hang around 30 to 34 inches above the dining table for optimal illumination.
Grounding for Safety
Don’t overlook the grounding wire. If the electrical box has a ground wire, connect it to the fixture’s ground wire. If there isn’t one, attach the fixture ground to the electrical box. Typically, this involves wrapping the wire around a green screw on the mounting bracket.
Finishing Touches
Mounting the New Fixture
According to the manufacturer’s guidelines, mount any new base or decorative trim. Utilize your screwdriver or drill to secure everything properly, maintaining a neat appearance. If your fixture includes decorative nuts, remember to fasten those too.
Installing Light Bulbs
No fixture is complete without bulbs! While changing fixtures, consider upgrading to LED bulbs. They not only save energy over time but also come in various color temperatures to match your aesthetic. Once bulbs are in place, fit any necessary covers or trim pieces back onto the fixture.
Powering Up and Testing Your New Fixture
After double-checking that everything is secure, it’s time to restore power from the circuit breaker. Flip the light switch, and if all goes well, your new ceiling light will illuminate! If it doesn’t light up, revisit your connections to ensure everything is intact. In the worst-case scenario, do not hesitate to call local professionals for assistance.
DIY or Hire a Professional?
Changing a light fixture can be a satisfying DIY task, particularly when substituting one fixture with a compatible replacement. However, if you’re considering moving the light to a new location, it may be wise to hire a qualified electrician. Expect to pay between $50 to $100 per hour for their expertise, which can save you time and prevent potential mishaps.
Need More Help?
For further information on light fixture installations, explore these resources: Lighting Services Overview, Chandelier Installation Guide, Recessed Lighting Insights, and Choosing LED Bulbs.
Changing a light fixture can be a rewarding DIY project that brings new life to your home without breaking the bank. However, if you find yourself unsure or overwhelmed, don’t hesitate to consult an electrician for professional help to ensure safety and proper installation.