
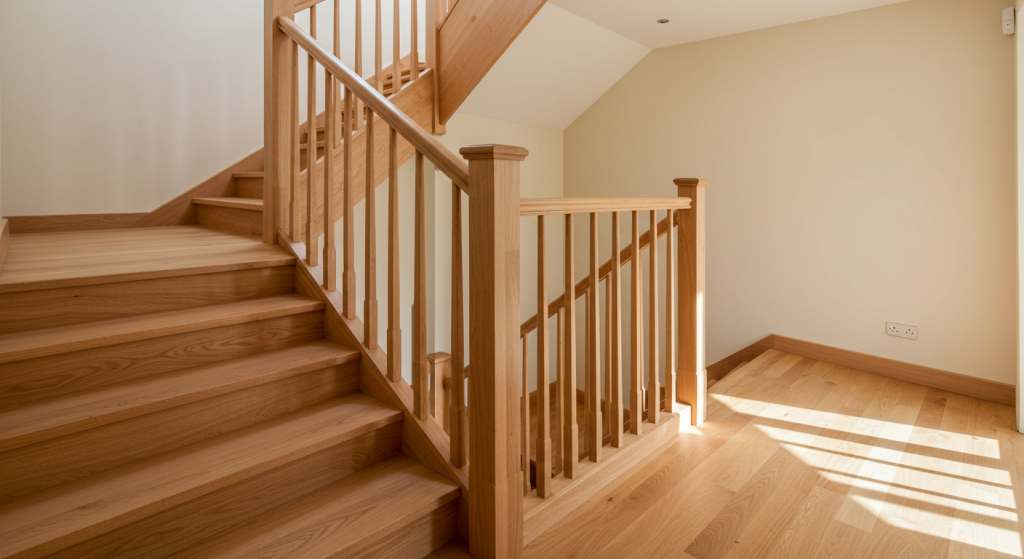
Sanding and finishing stairs can breathe new life into your home, transforming worn-out steps into elegant features. This detailed guide will walk you through the essential steps needed to achieve a smooth, polished finish while ensuring your staircase looks stunning and feels sturdy.
Preparations Before You Sand
Before diving into this stair refinishing DIY endeavor, you must gather the right materials and prepare your work area. Assemble your toolbox with the following essential items:
- Sanders: A random orbit sander, a finishing sander, and a triangular detail sander.
- Sandpaper: Begin with 60 or 100 grit and finish with 120 grit.
- Steel wool for fine detailing.
- Dust masks and dust sheets to maintain cleanliness and safety.
- Personal Protective Equipment (PPE): Gloves and goggles are crucial!
- Wood filler for repairs.
- Nail removing pliers and a hammer.
- A ladder for those hard-to-reach spots.
Step-by-Step Sanding Process
Step 1: Research and Assessment
Identify the age and material of your staircase. Understanding the wood type is crucial, as you may want to incorporate different finishes for various parts of the stairs. Focus on your treads if you wish to reveal the beautiful grain of the wood.
Step 2: Clean and Prepare
Clear the staircase area for an unencumbered workspace. Lay down dust sheets and ensure adequate ventilation by opening windows. Safety should always be your priority; wearing a dust mask prevents inhalation of particles, especially if your stairs were once carpeted containing nails or staples. Remove any hardware carefully without hammering them further into the wood.
Step 3: Stripping the Old Finish
If your stairs have multiple layers of paint or varnish, using a high-quality paint stripper can substantially ease the process. Apply the stripper and let it do the work, then remove the residue with a scraper or wire brush. Always engage the manufacturer’s safety guidelines during this process.
Step 4: Sanding the Surfaces
Begin the sanding process with coarse grit sandpaper (60 grit) to remove the remaining finish and imperfections. Utilize a random orbit sander for the flatter surfaces, but switch to a finishing sander for tight corners and edges, ensuring you get into hard-to-reach areas effectively. Don’t forget to use steel wool by hand around spindles or decorative elements.
Step 5: Repairing and Filling
After sanding, it’s likely you’ll encounter loose parts or voids. Take this time to repair any loose spindles or boards using wood glue or screws as necessary. Once the structure is sound, utilize wood filler to plug any holes or gaps, ensuring the site is ready for a smooth finish. Be mindful of where you fill; for areas intended for a natural wood look, consider leaving minor dents unfilled.
Step 6: Final Sanding and Cleanup
For the last stage, use a fine grit sandpaper (100-120 grit) to polish off the surfaces, preparing them for finishing. This step should yield a smooth texture, devoid of scratches. Finally, remove all dust with a vacuum, followed by a damp cloth to ensure a clean surface for painting or staining.
Choosing the Right Finish for Your Stairs
Paint or Varnish?
When it comes to finishing, the choice of paint or varnish greatly impacts your staircase’s durability and aesthetics. There are specialty stair and floor paints available at local hardware stores that provide a hardwearing finish for high-traffic areas. For the rest of the stairs, consider using a standard wood paint that is washable for easier maintenance.
How Long Will It Take?
Typically, sanding and preparing a standard staircase with 12-13 steps can take a day or two, depending on your pace and the condition of the stairs.
Tips and Tricks for Success
Embrace patience and attention to detail throughout this process. If tackling this project seems overwhelming, consider enlisting help or consulting a professional. In the end, the satisfaction of completing your staircase transformation will be worth the effort!
With these structured steps, you are well on your way to a beautiful and refreshed staircase. Not only will you enhance the beauty of your home, but this project represents a wonderful opportunity to add your personal touch.
Stay tuned for more home improvement tips and tricks, and don’t hesitate to follow this link and this to discover more about DIY essentials!