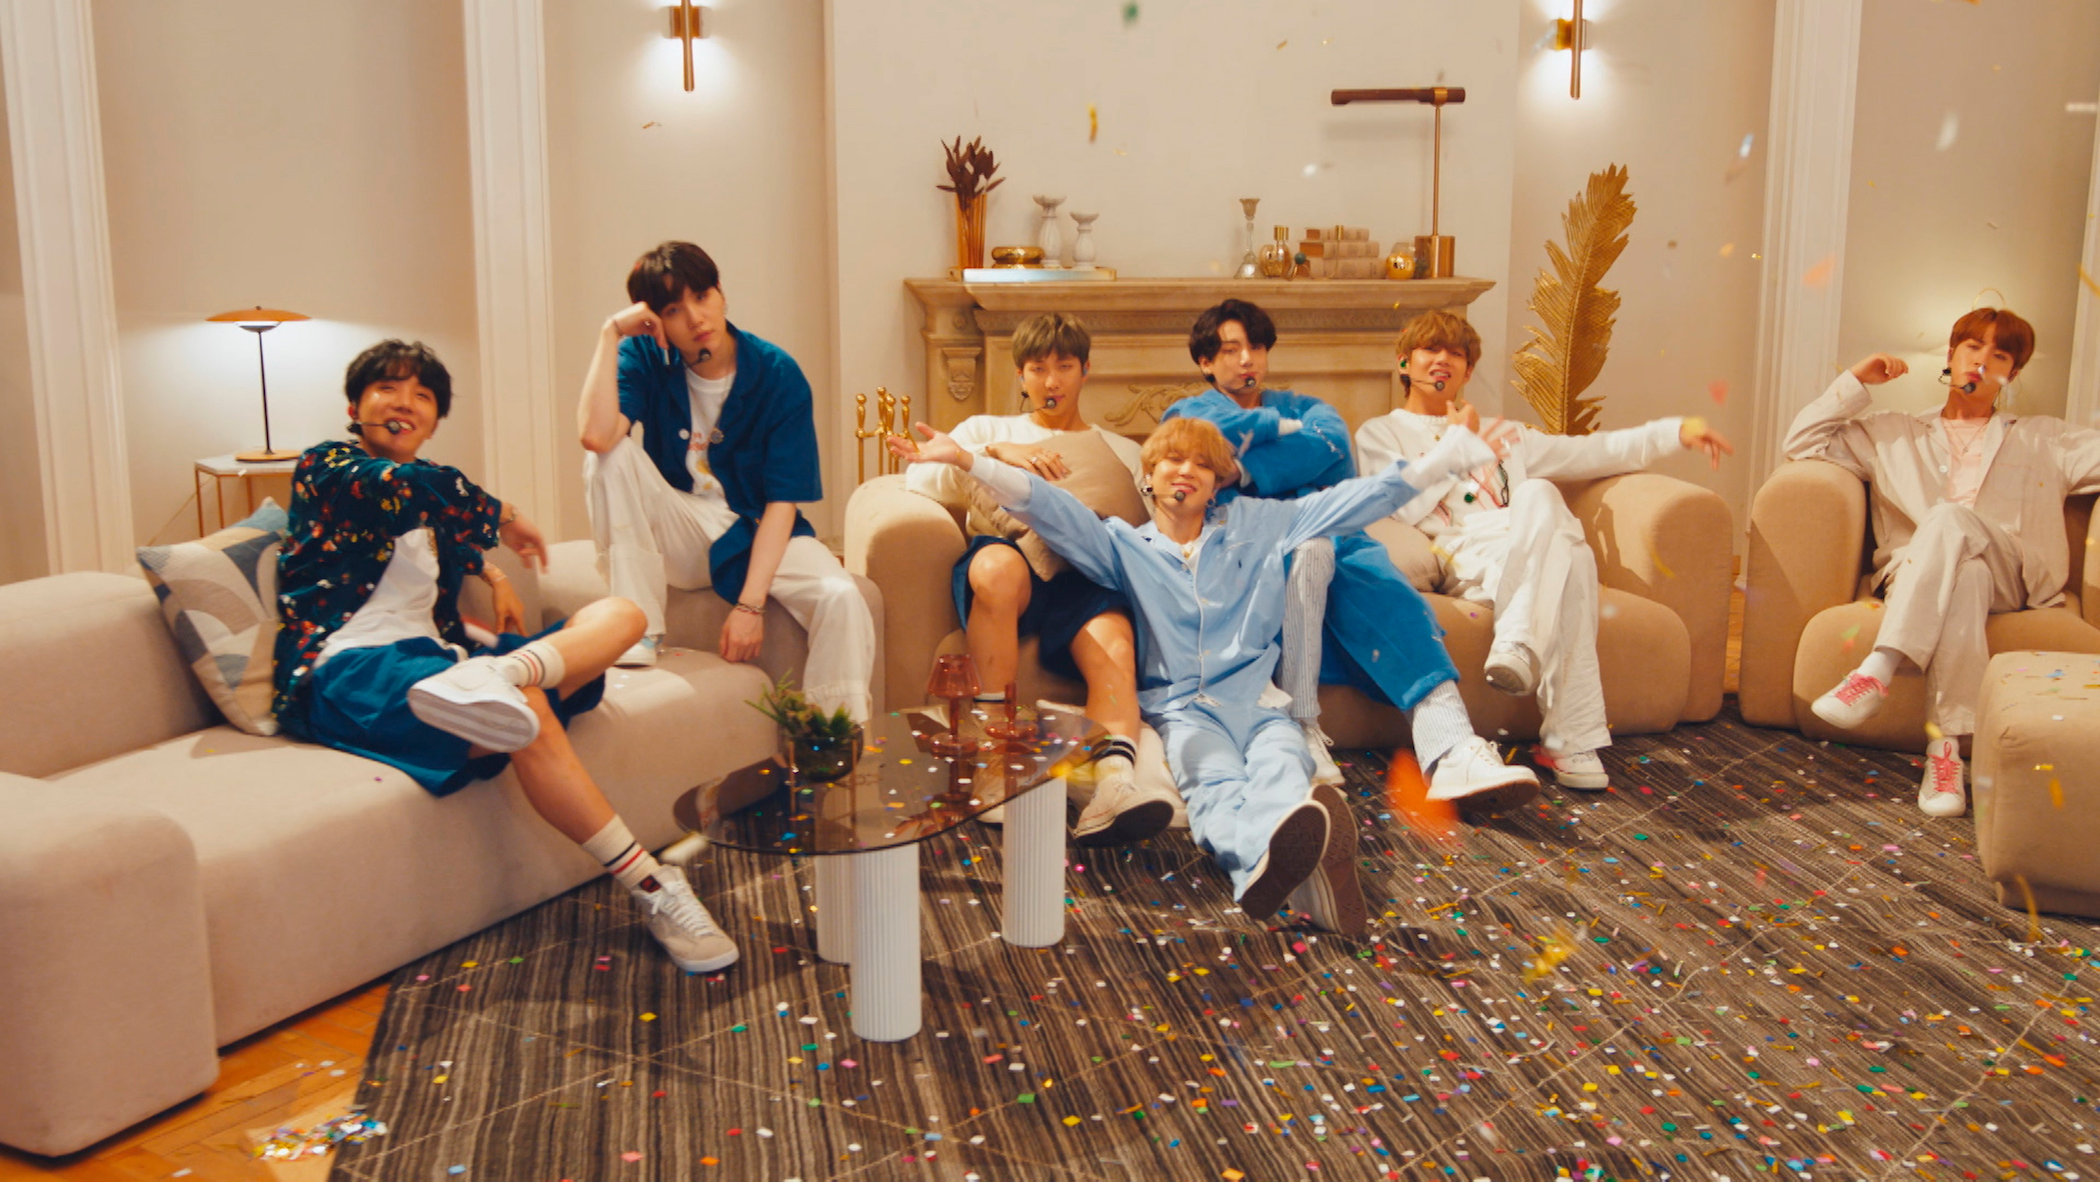
If you’d seen my room, you would have said BTS is everywhere –from the walls to the ceilings (yeah, even on the ceilings!) and on my nightstand. I’ve been a BTS fan for years now and I really like to incorporate them into my daily life.
So, if you want to change your room décor into a BTS theme, I would love to guide you. So, make way for one of the best BTS-inspired DIY room decorations.
BTS Light Up Décor
Materials You’ll need:
- Hot glue gun
- A ruler
- Glue stick
- Cardboard
- A pair of scissors
- String
- Black paper
- Sharpie
- LED battery-operated white lights
- Transparent Photocards/ Printouts
Instructions to Make the BTS Light Up Décor
Step 1: You start by taking the cardboard and measuring a 28 * 9 cm rectangle on it. From the bottom on one side of the vertical lines, measure around 4 cm and from the top of the opposite side, measure approximately 6.5 cm.
Note: This is the beginning phase of creating the BTS logo shape.
Step 2: Then, connect all the lines.
Step 3: The same process must be repeated on the back of the cardboard to complete the BTS logo. Then, cut out the shape and with the help of a glue stick, put some black paper down onto one side of the cardboard.
Step 4: Once you’ve cut out the shape glued to the black paper, repeat the same procedure for the other cardboard.
Step 5: Now, trim all the cardboard strips that are of the same length as the exterior edges of the BTS logo (with approximately a width of 5 cm per strip).
Step 6: Next, try to use the black paper to cover both sides of the cardboard strips.
Step 7: Add some hot glue along the long edge of the cardboard and stick it to the top of the BTS logo shape.
Step 8: Now, start trimming all the edges that are poking out. If there is none, then just skip this step.
Step 9: Now, take the second-longest strip and using the hot glue, stick it to the top of the logo.
Step 10: Concerning the slanting edge, I suggest cutting down the sides of the strip to make it fit inside the two that have already been glued. Using hot glue, stick all three sides of the strip.
Step 11: Remember not to glue all three sides when you are gluing the last strip at the bottom. Just keep in mind that you only need to glue the base and the side closer to the center end of the logo shape.
Step 12: Once you’ve put the lights inside, tug the cord through the bottom edge that you didn’t secure with hot glue. Remember to do this for both sides.
Step 13: Once you’ve glued the lights in place, cut pieces of string and using the hot glue, stick them across the width of the logo shape. Usually, you can make as much as you want but I’d recommend a maximum of 4 only.
Step 14: Next, to cover the rough edges of the cardboard, it is recommended to cut and stick small and thin strips of paper.
Step 15: Now at the back of the cardboard, stick the battery packs with the switch facing outwards and put the cords down.
Step 16: If you want it to be stable enough, I suggest using the cardstock paper and hot glue to stick the two components at the back. In the front, you can just stick the two pieces of the shape at the middle.
Step 17: And, the final step includes putting the printouts or photocards of your bias or bias-wrecker and using pegs onto the strings, you can hang them. And, lastly, you can place it beside your bed or just hang it on some wall in your house or in your bedroom.