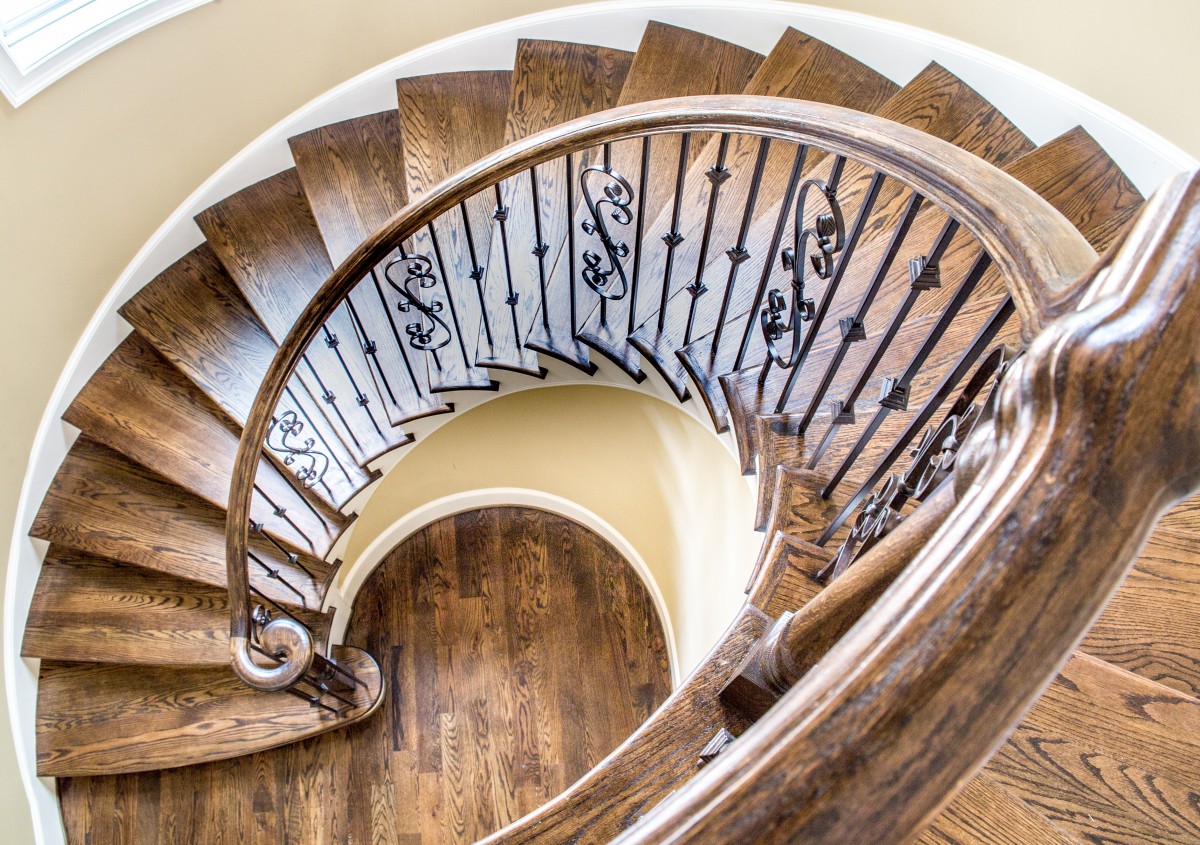
There are several types of staircases: straight, quarter-turn, and spiral. To make your choice, you must consider the available space, the desired aesthetic, the desired material and the ease of installation.
A good compromise to reduce the price of your staircase consists of some knowledge of DIY, assembling your wooden staircase yourself, and putting it in place at the desired location. The most uncomplicated staircase to install is the straight staircase.
Follow our step-by-step instructions on how to install a staircase.
1. Prepare the stringers
Adjust the height of the staircase
If the staircase height exceeds the height from floor to floor in your house, it is possible to shorten the staircase.
Important: This must be done before the staircase is assembled.
– Measure precisely the height to be covered from the floor to the top slab (including the covering).
– Saw off the bottom of the stringers and remove a step if necessary.
Good to know: make sure you also have enough clearance, at least 80 cm, at the top and bottom of the staircase to access it comfortably.
Drill the stringers
– Place the 2 stair stringers on trestles, with the notched sides facing up.
– Every third step, locate the middle of the step notch and drill a 6 mm diameter hole.
– Turn the stringers over.
– Locate the drill holes and enlarge each hole with a 20 mm drill bit, 6 mm deep.
Good to know: this enlargement will allow you, in the final stage, to embed the screw heads and mask the holes with covers.
2. Assemble steps, risers and stringers
Assemble the first stringer and the steps
– Place the first stringer on the floor with notches visible.
– Glue the step notches of the stringer with wood glue.
– Fit the steps one by one into the notches of the stringer with a mallet.
Necessary: insert a martyr shim, i.e. a shim that will receive the mallet blows, to avoid damaging the wood.
– Also, insert the last step in the notches of the stringboard.
Good to know: the last step is narrower than the others because it will rest on the floor.
Add the risers and the second-stringer
– Next, fit each riser into its corresponding groove in the step and into the groove in the stringer.
– Glue the notches of the second-stringer.
– Then, fit it onto the steps and risers.
Important: At least 2 people are required to perform this step.
Attach the assembly
– Carefully check the alignment of the elements in the grooves.
– Screw the steps into the holes previously drilled in the stringers.
– Nail the risers to the steps with utility hole nails.
Good to know: apply the finishing product now to the stringer that will be pressed against the wall.
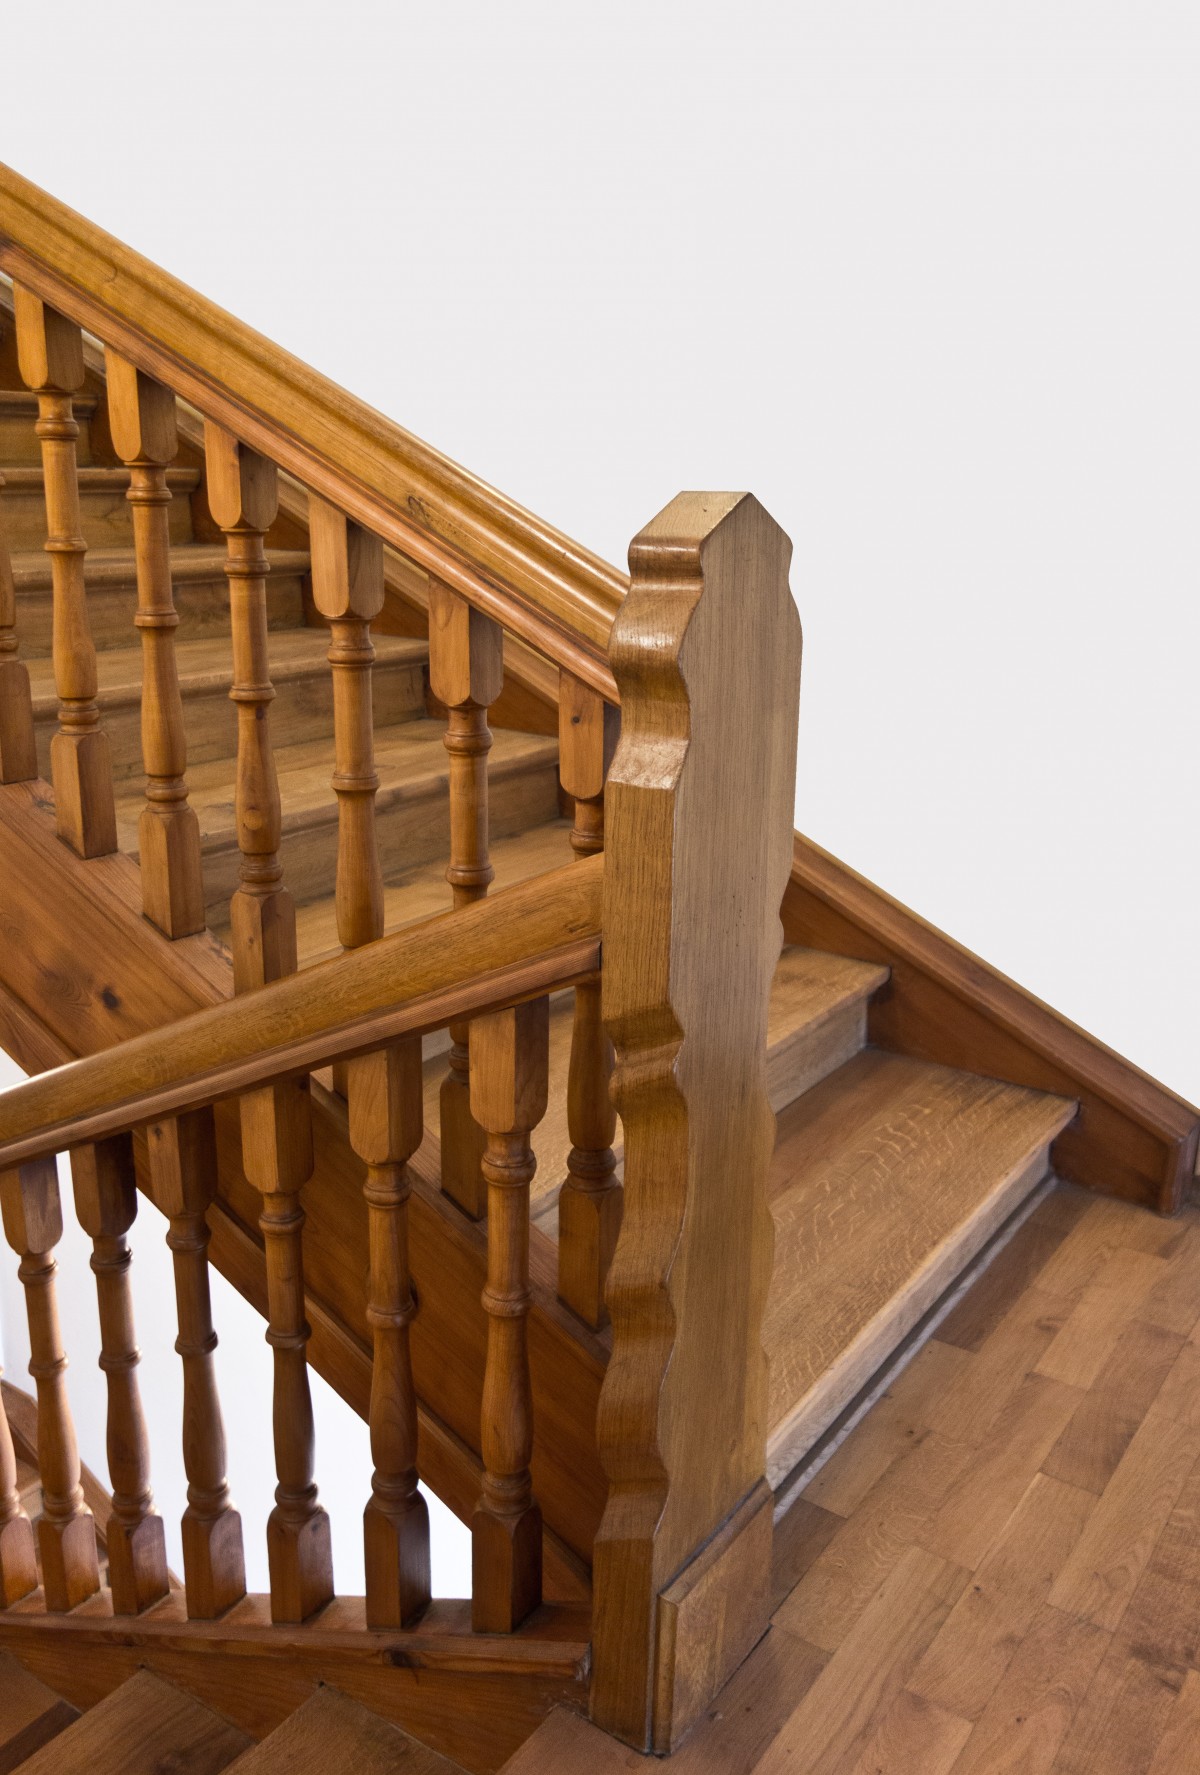
3. Assemble the staircase railing
The railing consists of a handrail, vertical balusters and a bottom rail. At each end, the railing ends with a support post.
Assemble handrail and balusters
– Position the handrail on trestles.
– Insert a dowel into each pre-drilled hole on the handrail.
– Glue the ends of the balusters with wood glue and fit them into the dowels.
– Secure each assembly with a spike.
Attach the bottom rail of the guardrail
– Glue the upper ends of the balusters.
– Position the bottom rail on the balusters.
– Secure the assembly by screwing.
4. Place the support strip
The top of the staircase will rest on a cleat fixed on the hopper’s header.
– Measure the thickness of the last step.
– For the finished floor, remove the thickness of this step and locate the top of the support strip on the finish side.
– Place the strip horizontally on the marker and check its level.
– Mark the drilling points on the wall through the strip.
– Then, drill the wall and anchor.
– Screw the stair support strip to the header.
5. Fix the staircase
Draw your marks on the floor
– Present the staircase on the hopper by lifting it to 2 to distribute the weight.
– Place it on the support strip.
– Check that it is perfectly fixed.
– Locate the fixing points of the staircase locking brackets on the floor under the first step and flush with the stringer.
Place and fix the staircase.
– Move the staircase back 2.
– Drill holes in the floor for the brackets.
– Peg and screw the brackets to the floor.
– Re-engage the staircase on the cleat, place it and check the wedging.
– Screw it firmly into the cleat.
– Then, fasten the brackets in the stringers.
6. Install the stairway railing
Attach the railing to the end post
– Attach the end post by screwing it into the stringer.
– Prepare to attach the railing to the end post: glue the ends of the railing (handrail and bottom rail).
– Then, place the guardrail on the stringboard and against the top post.
– Screw everything together.
Fix the guardrail on the starting post
– Glue the parts that will be in contact with the starting post: handrail, bottom rail and stringer.
– Place the starting post against the stringboard and the guardrail, hold it in place with a clamp and screw it in place.
7. Fix the staircase in the wall
– Secure the staircase by anchoring it to the supporting wall.
– Drill a hole through the wall through the stringer.
– Insert a dowel and hammer it in.
– Finally, glue the covers to hide the assembly screws and fit them in place.
Your staircase installation is now complete; all you have to do is choose the finish to protect it.
Checklist of materials needed to install a staircase
Knock-in dowel
Man head nails
Wood glue
Pencil
Square
Fixing square
Step ladder
Gloves, goggles and mask
Mallet
Hammer
Flat drill bit
Tape measure
Spirit level
Percussion drill
Jigsaw
Clamp
Trestles
Wood screws
Screws and dowels
Screwdriver